Happy Monday everyone. Since Monday has become my informal day of tutorials, I decided to share an altered frame project plus how to instructions with you today.
The first thing I usually check when I'm in the craft store is the clearance aisle. It's the bargain hunter in me. Well, in one of my recent trips to my local Michael's craft store, I found some canvas frames that were on clearance for about $2. I picked one up thinking that the blank canvas can be prettied up with some of my scrapbook supplies.
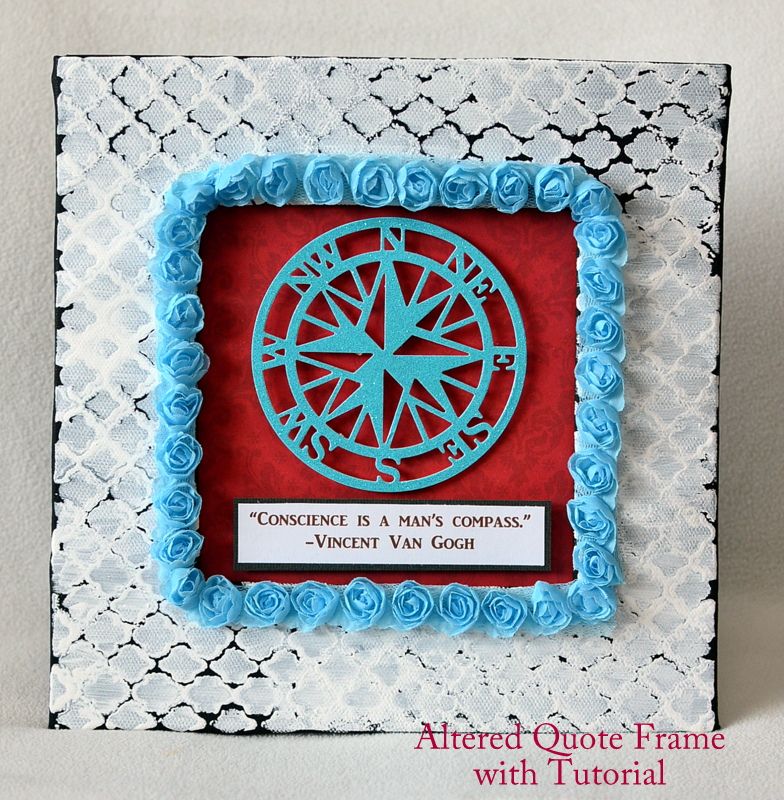
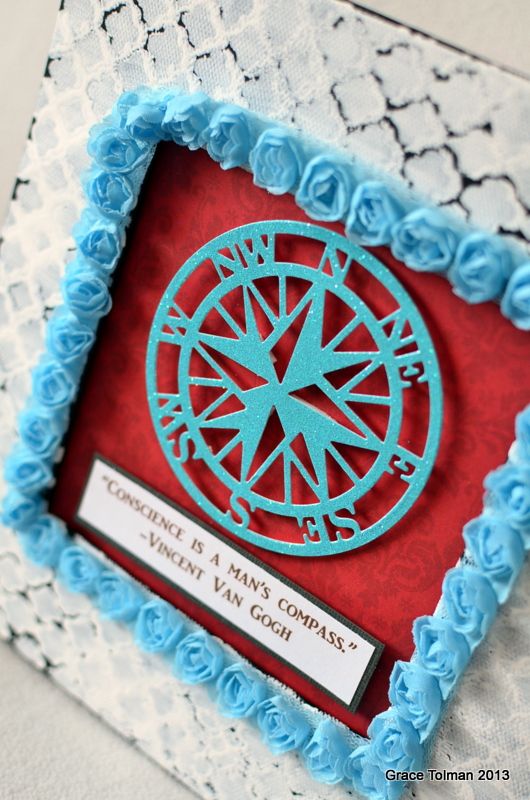
So I came home and a few days later created this....
I also wanted to play with new misting templates that I bought and some other "new" stuff in my stash. Projects like these gives me the freedom to just "play" and put items together that I've been collecting.
Now here's how to create this frame...
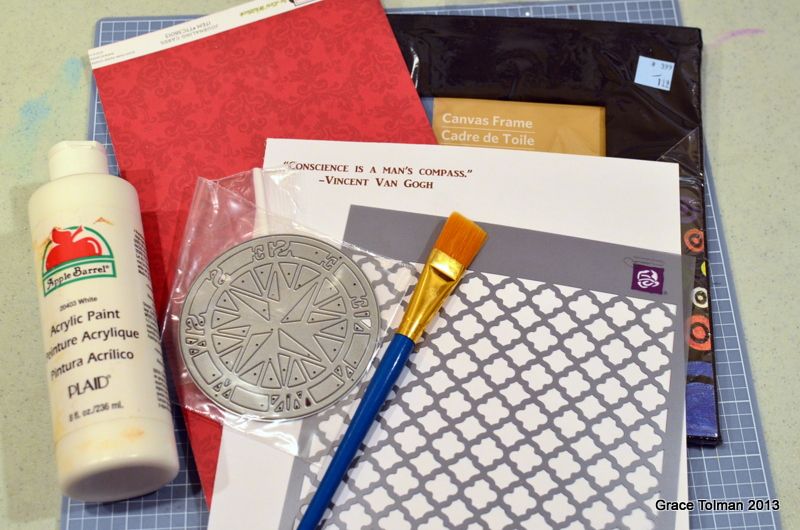
First you'll need a canvas frame, pattern paper that will fit the inside of the frame, a quote, a die cut shape as your focal point, paint, paint brush, misting template and flower trim (optional)
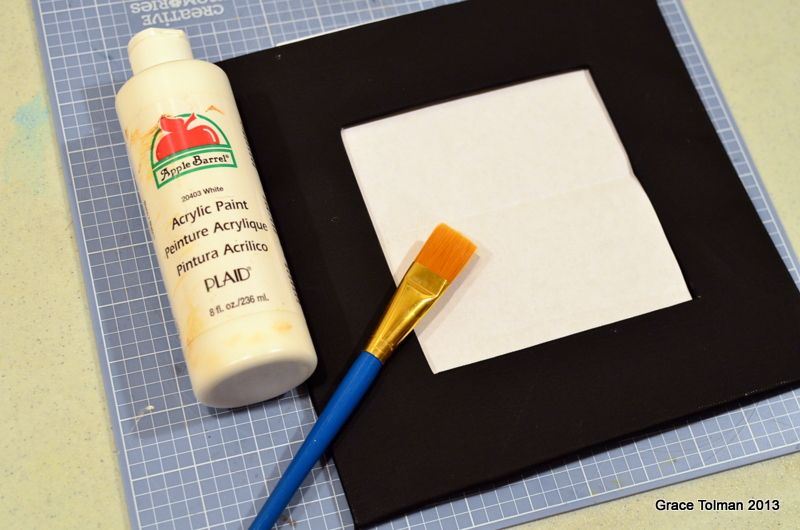
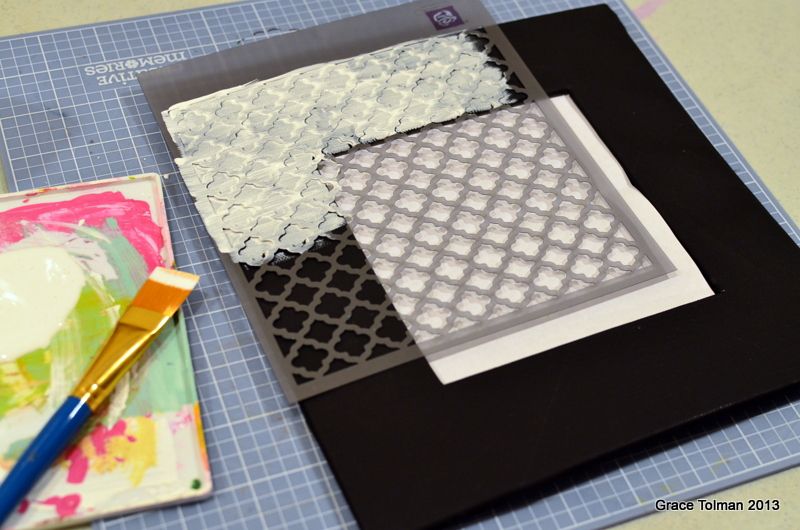
Next you'll need to prep the frame for painting. I added a piece of scrap paper inside the frame to catch paint that accidentally gets inside the frame.
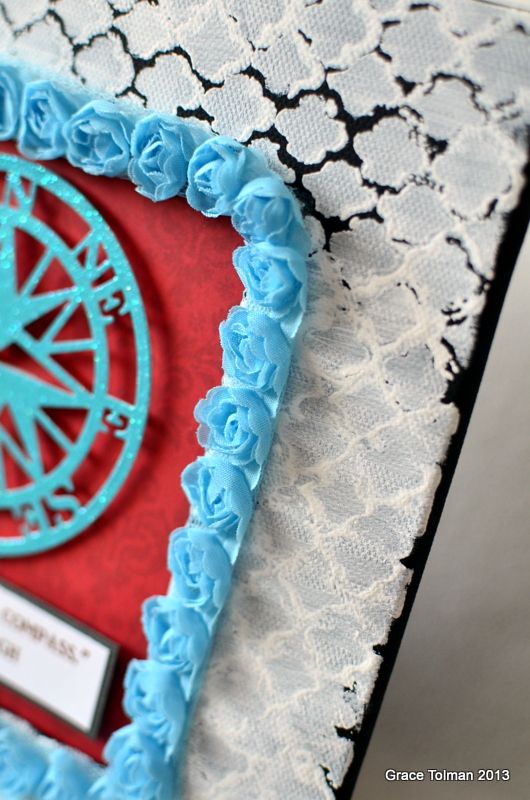
Since my template is smaller than my frame, I started in one corner and worked my way around the project trying not to move my template too much. When I did have to move it, I tried to match it with what's already been painted so that the design will look uniformed all around. Once painted, set it aside to dry.
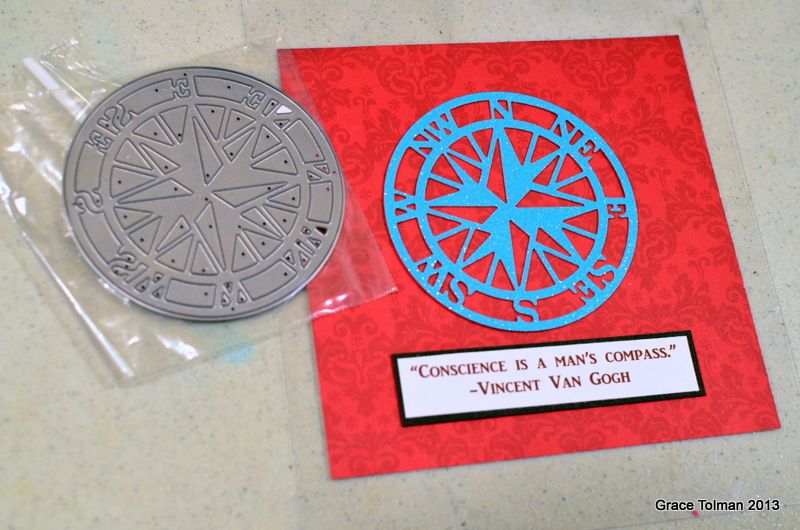
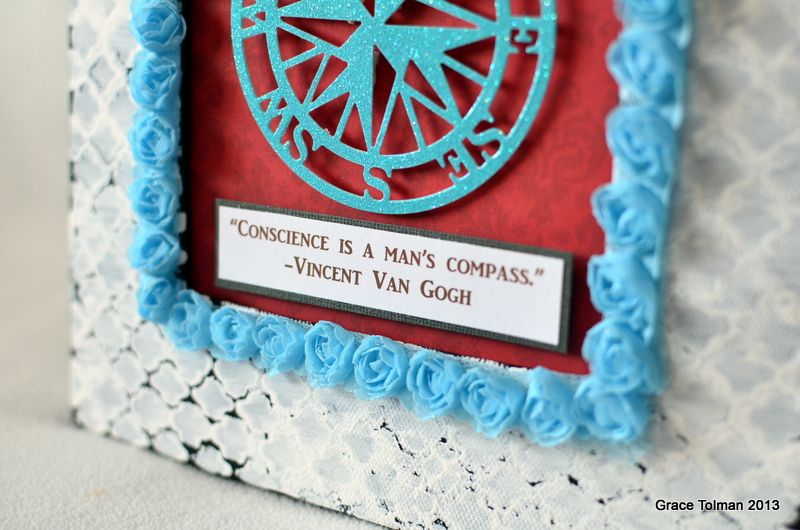
Then I worked on the focal point of my frame. I cut out the compass die from Die Versions on a glittered cardstock. Since the glittered paper is thicker than the usual paper, make sure you run your die cut a few times through your die cut machine to make sure it cuts the piece from the paper. Mat the computer generated quote on black cardstock and trim.
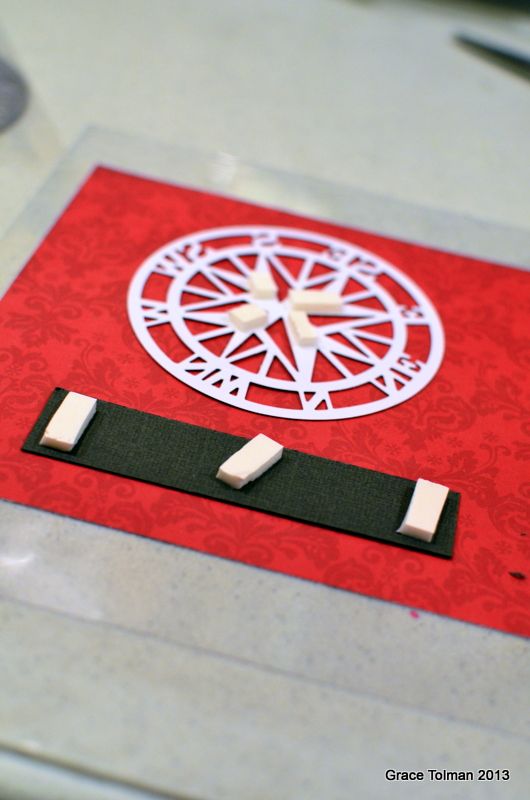
Then add the compass and quote on a piece of coordinating paper with foam adhesive.
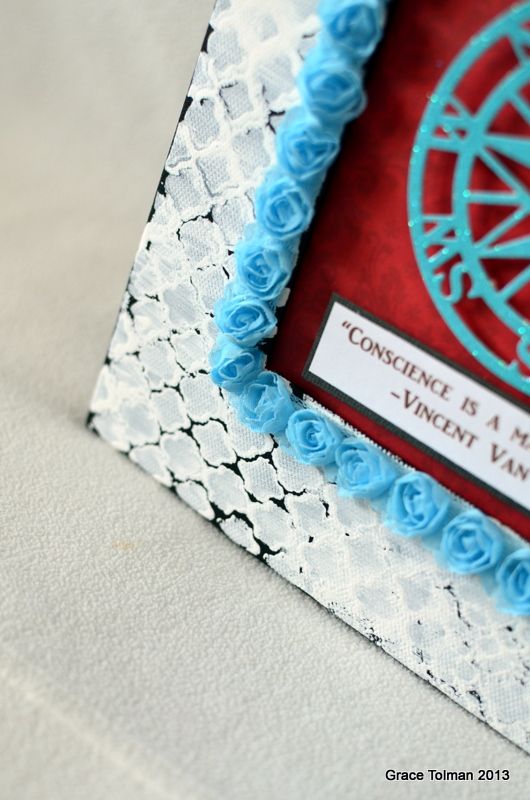
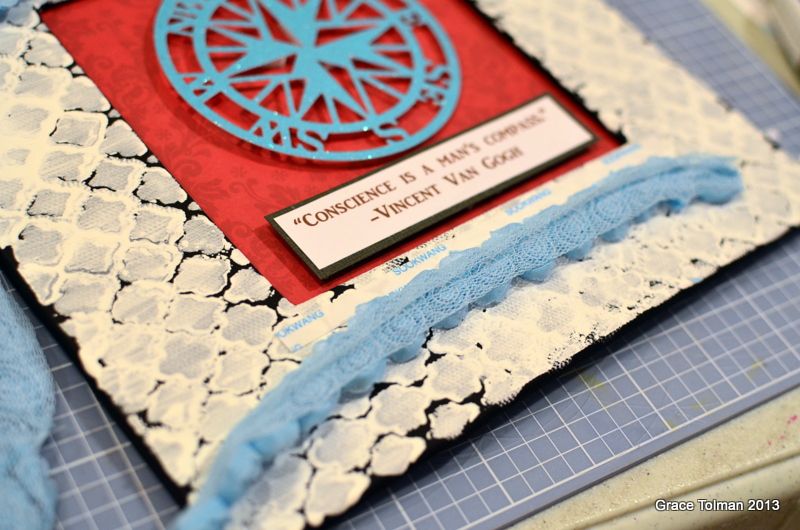
When the paint on the frame has fully dried, you can slip the focal point paper block. I decided to add some floral trim on the edge of the frame to create more attention to the center/focal point of the project. I added strips of adhesive to adhere the trim.
And there you have it. Here's more detailed shots of my project...
Here's the supply list:
Frame- Michael's Craft Store
Papers- (glittered cardstock) Doodlebug Design; (white and black cardstock) WorldWin Papers; (red) Echo Park
Floral trim- Maya Road
Template- Prima
Compass Die- Die Versions
Paint- Plaid Enterprises
Adhesives- Glue Arts
Thanks for stopping by. So what about you? What is your favorite aisle to check at the craft store?
Till next time,
Grace

3 comments:
love this!
Grace I love this project and your tutorial rocks. Thanks for sharing.
Post a Comment