Happy Monday dear crafty friends. We are on the last layout for this series. Did you enjoy it? Did it inspire you to pull some older layouts and find inspiration from them? For this last one, I am pulling inspiration from this layout...

I used to really try to save my scrapbook papers. I try to find many different ways of using papers sparingly but make it look like there's a lot of it in a layout.
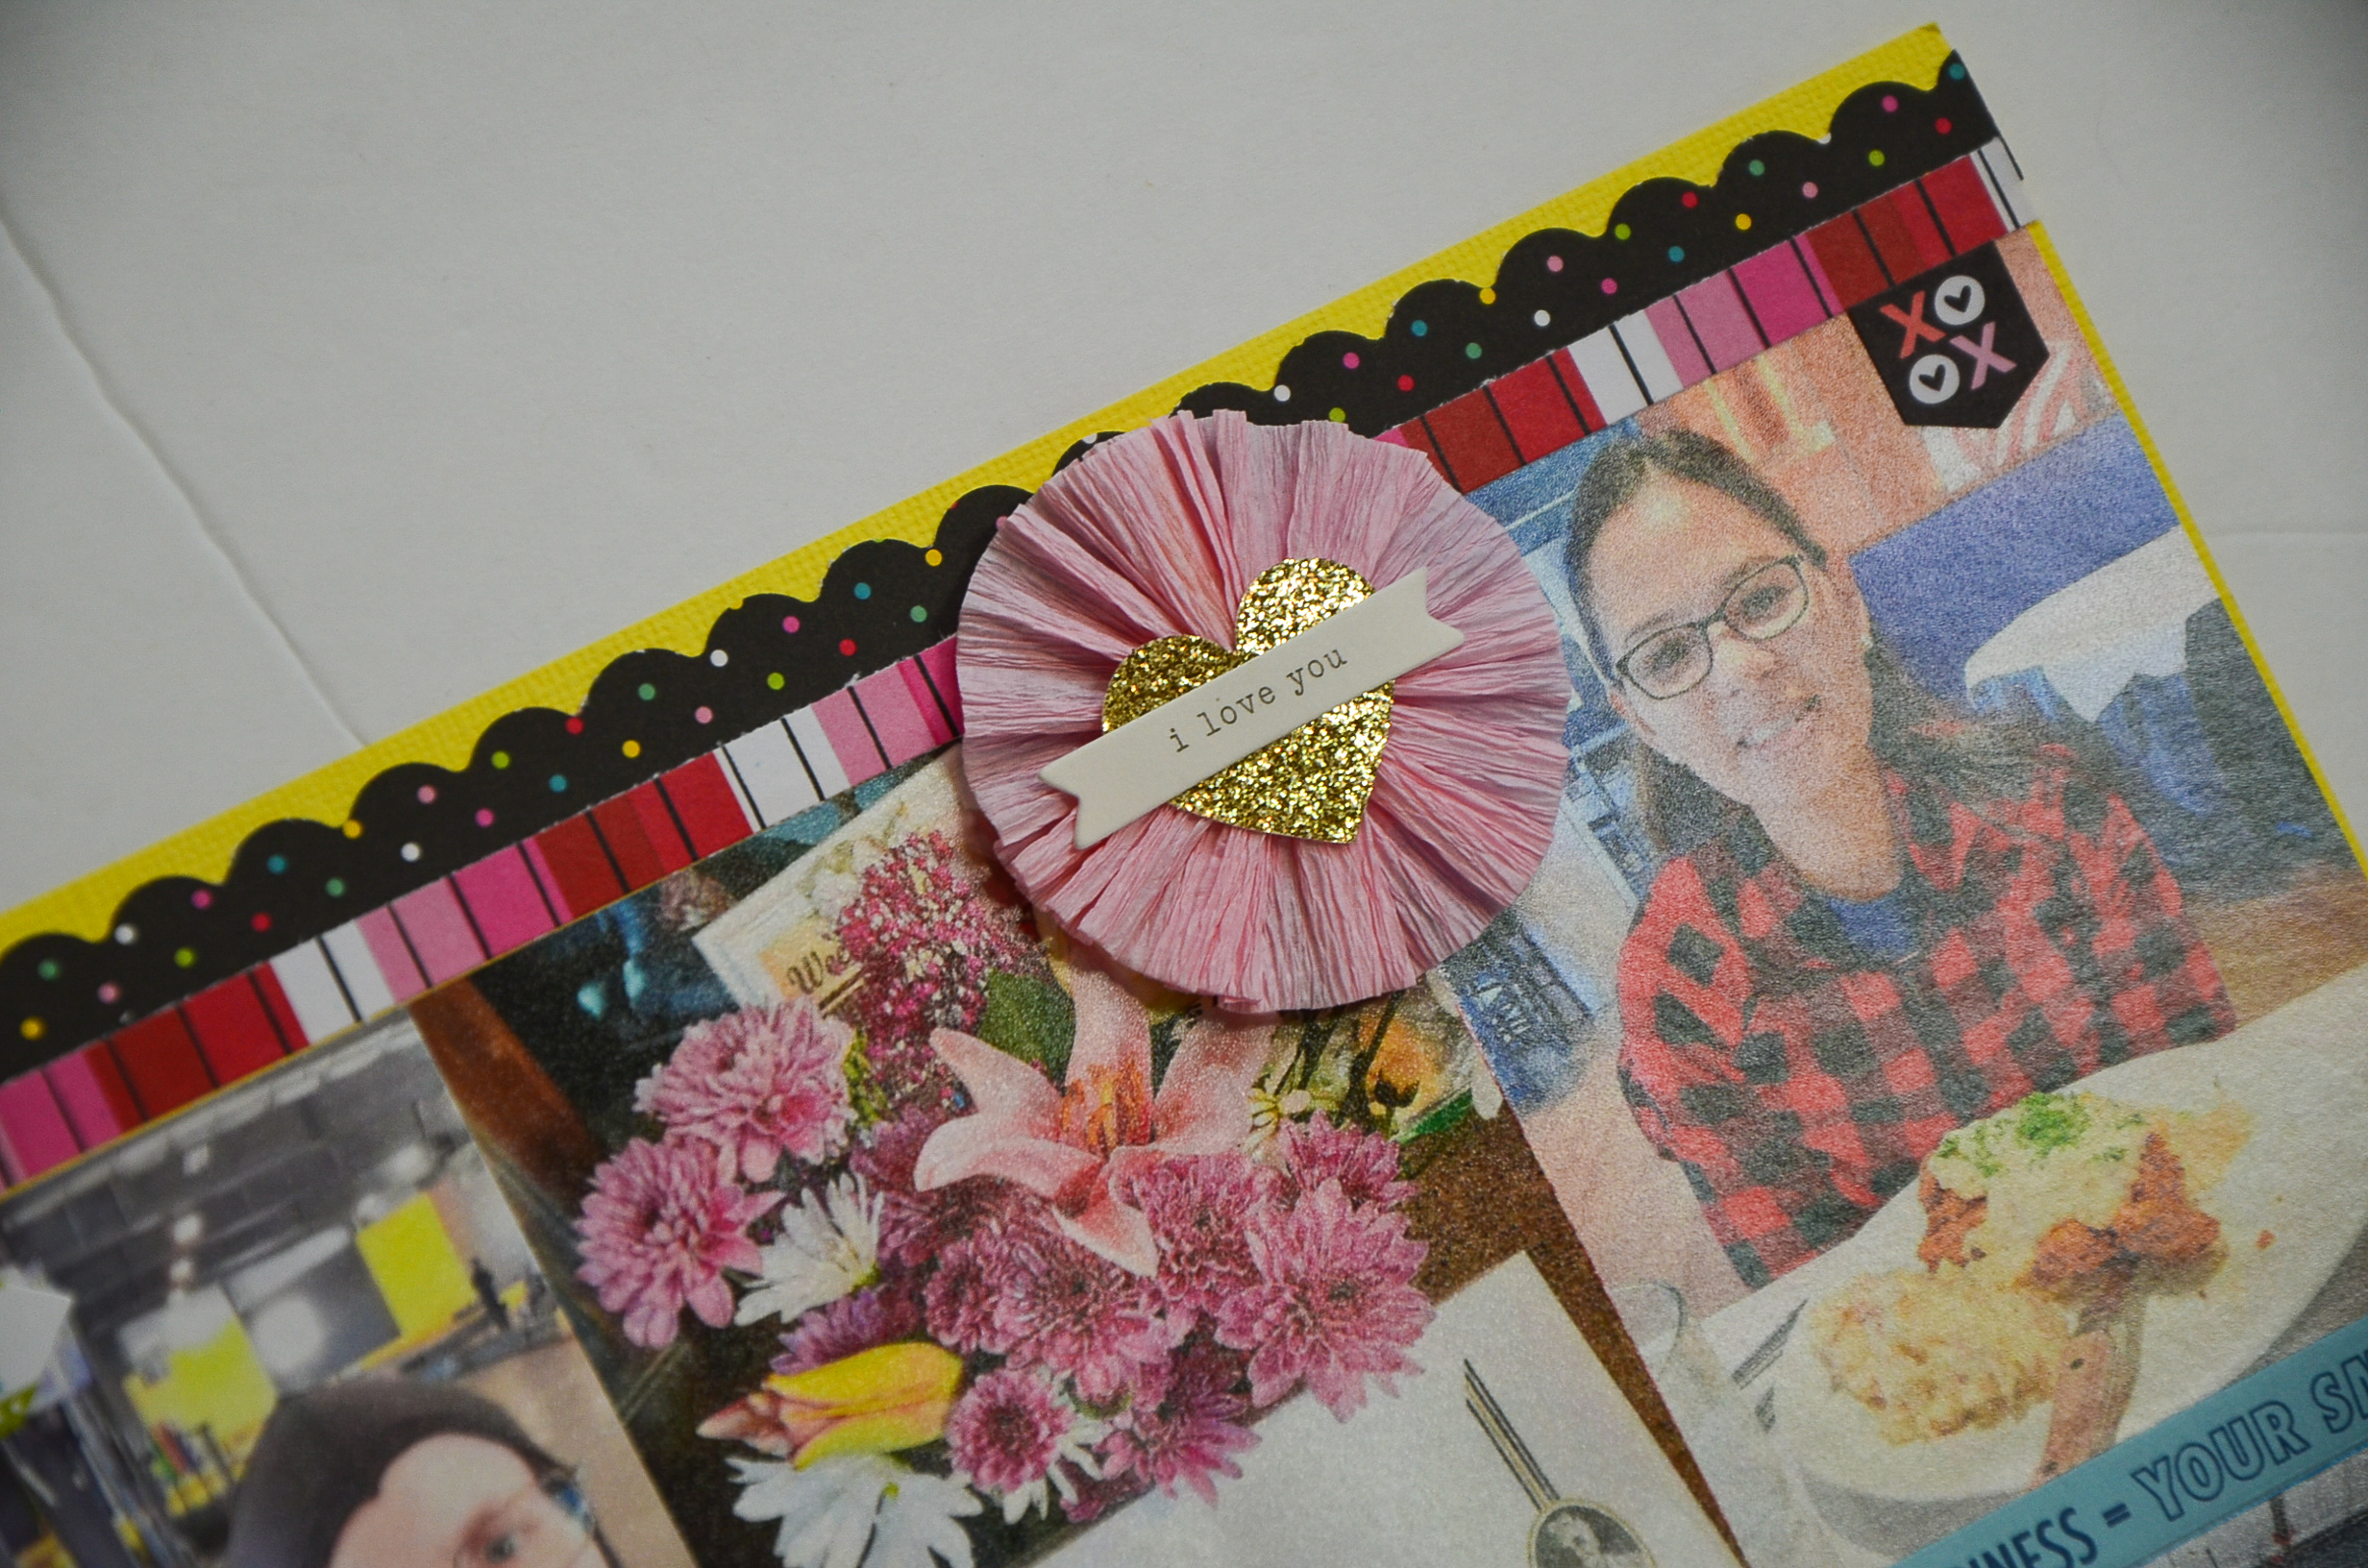
I liked the circles and I used the above layout as a sketch inspiration. I don't scrimp and save all my pattern papers, but I still like the circle accents and it fit this particular story with floating down the river.

Here's the process video...
And some close ups...


Thank you for stopping by.
Happy Creating!
-Grace