Anyways, my calling or "job" right now is to work with the Young Women. They are the teenage girls from 12-18 years old. One of the things that I help them with is to set and accomplish goals. We call it "Personal Progress". It has all sorts of goals/activities that they are to accomplish which at the end of completing the program would've helped them gain a better testimony of the Gospel, learn more about themselves and their divine natures and learn skills along the way.
One of the aspects they are to work on is Integrity and a project in that field was to read messages from our leaders about the subject, pick a quote that they like and make a craft for it that they can display in their home to remind them of the quote.
Well I took this challenge on in August and although I'm just now getting around it, I feel the need to share the project with hopes that you can translate it into creating your own quote frame.
Integrity Quote Frame
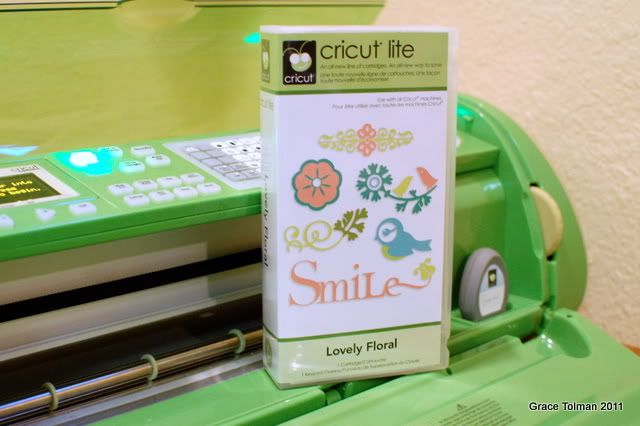
 For this super easy and versatile project, you'll need a frame (I got mine at Goodwill a long time ago!), spray paint, some vinyl sheets ( mine was the Accent it all Vinyl from Glue Arts) and die cut machine (Cricut was what I used)
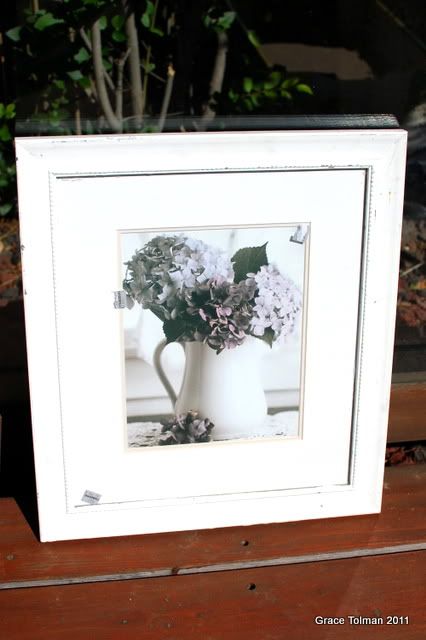 Here's the frame I got. My initial intention for this was to make it into a chalkboard frame but I guess that's the beauty of crafting, you collect items/mediums you want to work on and then change your mind and use it for something different. :) As you can see, it had a picture in it. I didn't care much for the picture but I did like the detail on the frame that's why I picked it up.
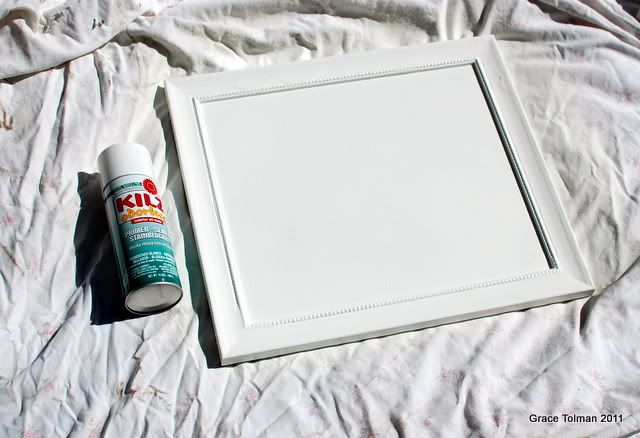 I spray painted my frame with primer. I used a specific one that can coat any types of surfaces like glass. I wanted to go with spray paint on this project because I didn't trust my shaky hands to create clean paint strokes. I was going to spray it with another coat but the lazy one in me said, one was good enough. *wink*
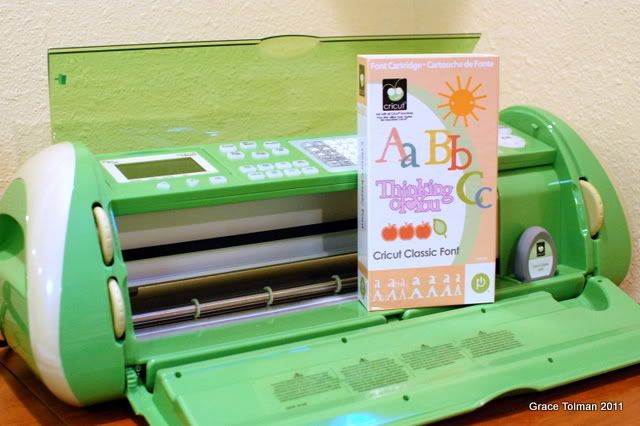 After the frame dried completely, I headed on over inside and worked on creating the letters/words that will go in the frame. I wanted the words to be readable so I chose a classic font.
 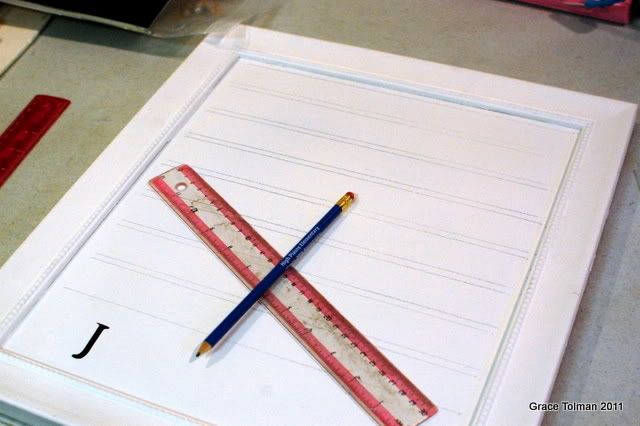 After choosing the size of the letters that would fit in my frame, I started making lines so I can make the spacings even.
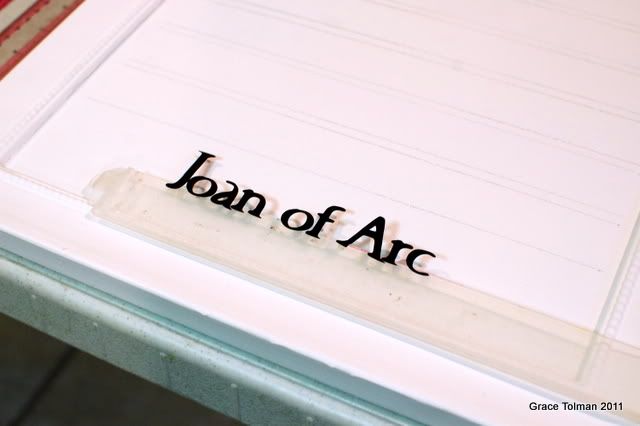 One of my favorite tools while working on letters is this plastic see through ruler type thing. It's not really a ruler but an attachment to my paper cutter but I've used it as a guide for my letters all these years. I'm so imperfect that even my letters don't ever go on straight so I use this tool to help me out with that.
  While my Cricut machine was cutting the letters for me, I grabbed some snacks. Can't craft without some munchies! LOL. My daughter actually asked for them so I opened it up for us to share.
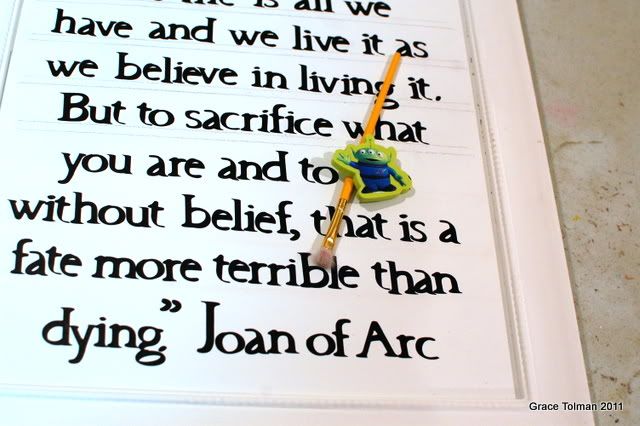 After adhering all the letters/words down, I started erasing the lines. NOTE: Erase gently as you can make some unsightly marks on your frame. *wink*
 After looking (and looking) at the finished frame, I felt like it needed something more so I added some swirls on the top portion.
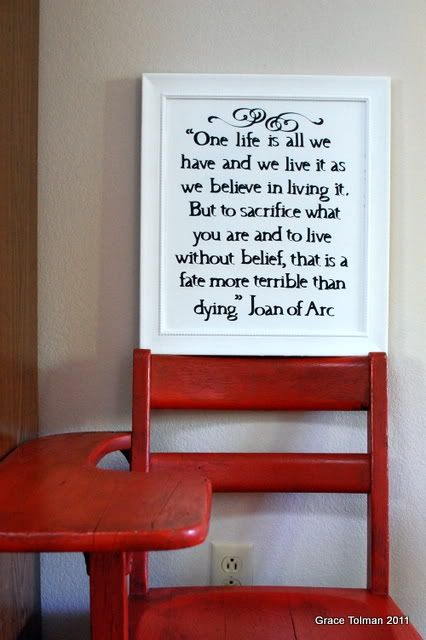
and here it is...
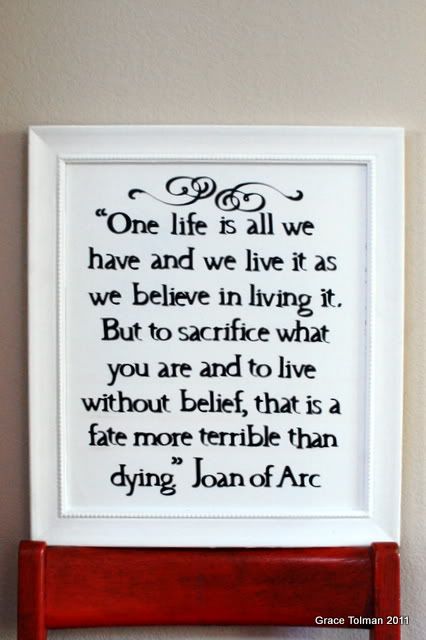 I'm not sure yet where I'm going to hang it up so it's just sitting in my red school chair right now.
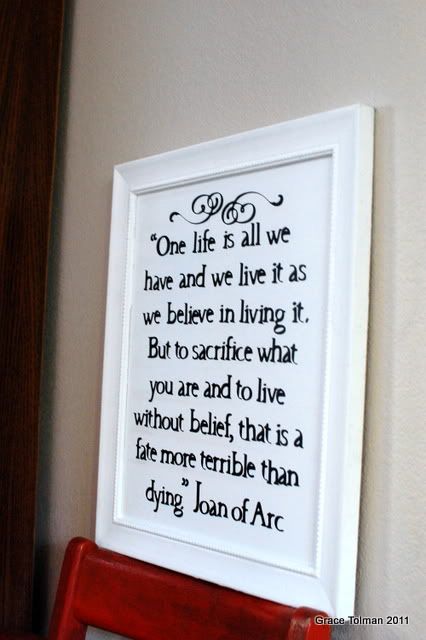 another beauty of this project is that later on, when I want to change up the quote, I can easily do that because this vinyl is peelable and won't ruin your paint job. Good stuff!
thanks for stopping by.
 I'm not sure yet where I'm going to hang it up so it's just sitting in my red school chair right now.
 another beauty of this project is that later on, when I want to change up the quote, I can easily do that because this vinyl is peelable and won't ruin your paint job. Good stuff!
thanks for stopping by.
Till next time,
Grace

4 comments:
Awesome project! I'm the Personal Progress coordinator in my ward and I am pinning this to my Young Women's board :). Thanks for sharing!
not to rain on your parade, but that's actually a maxwell anderson quote.
thanks for the correction -E-. I just got that from a talk and thought that the info was accurate enough.
Love this!!! :)
Post a Comment