

I looked online for ideas and although there are some books already out there for purchase, I wanted to make mine. :)

I made the book into a 6" square size.

I got the ideas for the sections from the research I did online. Some of the pages/sections are guest list; notes from parents; notes from grandparents, what he likes at 8; copy of baptism program and what my son felt on his baptism day.


I added a doile for the front and back of the book because it's white and it's elegance was suited for the theme of the book.
want to learn how I did it? read on....

First, I cut out 6" squares from black chipboard. This will serve as the front and back of my book

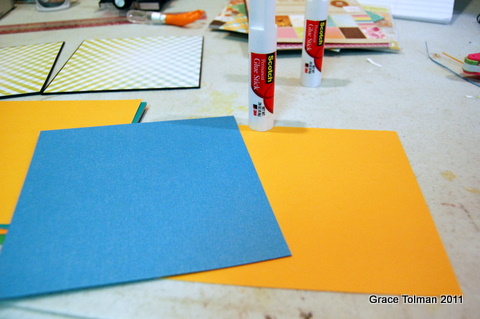
Second, I covered the chipboards with blue cardstock. I just covered one side of the chipboards which will be the outside covers.

3rd, I picked some cardstock and trimmed them to 6" squares. Two for each color so when you open the book, the page colors will match.

4th, I trimmed some pattern paper into squares that is 1/4" smaller than my chipboard, then adhere the squares onto the chipboards.
5th, Adhere the cardstocks onto each other. This way when you open the books, yellow cardstock on the left will face yellow on the right side, blue on left and right, so on and so forth.

6th, I then cut out pattern paper frames. I made a 6" square and then trimmed a 5" square inside of the paper to make my frame. Then I adhered these frames onto the cardstock.

7th, I punched out a border from a pattern paper.

8th, then I made the pocket out of the paper. This is where the copy of the program will go.

9th. Then I binded my book. If you don't have a binding machine, I know a lot of office supply store offer this service too.

10th. I used some stamps to spell out my section titles.

11th. For the guest list section, I added lines for people to sign on.

12th, then I adhered the rest of the section strips.

13th, then I adhered the doile. Glue stick seemed to work really well with this.

14th, Then I added a b sticker and some more stamping for the book title.

15th, to finish it off, I added a circle of glitter glue around the title.
That's it. This book of course can be translated to many themes and colors. I hope you were inspired by my project.
Till next time,
Grace
No comments:
Post a Comment