
Hi there friends.
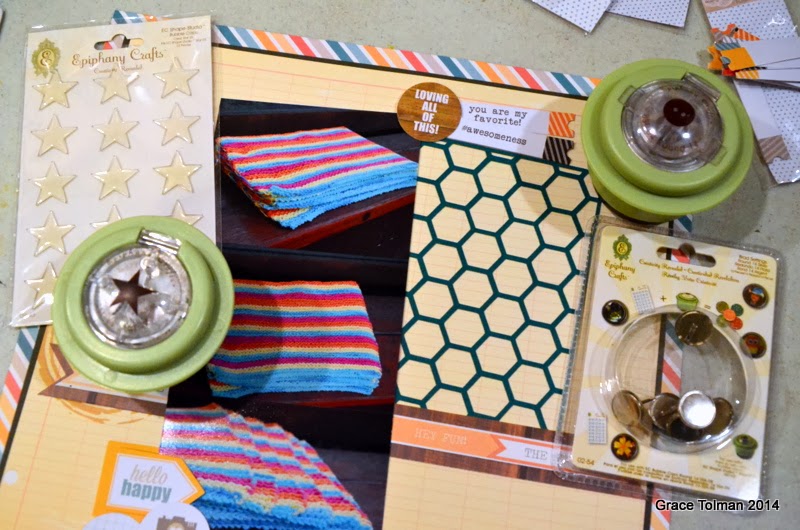
Today I’m sharing what I did with the fun products from Chic tags alongside
some of my “go to” accents from Epiphany Crafts.
.JPG)
Instructions:
1. Build
your page by layering Chic Tags papers and cardstock. Create the honeycomb
paper from the die cut machine.

2. Once
papers and photos are adhered, you can start adding accents and embellishments.
Create some handmade brads and bubble stickers using the Epiphany Crafts tools
and bubble stickers. Thread some twine to the buttons you’ve created with the
EC tool and stickers for a finished look.
3. You can
even use the packaging as part of your accent like what I did here as I created
a round bubble sticker with one of the tag packaging.

4. Another
way you can personalize your bubble sticker is to transfer them on white
cardstock and then punch out the accent with the Round 14 tool and adding
bubble sticker with it.

5. Add a
vellum piece behind the title to make it stand out better against the busy
honeycomb paper.
6. Handwrite
your journaling.
7. Add rubon
arrows on the top left corner and adhere all elements using dot and foam
adhesives.

here's another look at the finished layout....


Supplies Used:
Epiphany Crafts Shape Studio Tool Round 14 SST-02
Epiphany Crafts Shape Studio Accessories Bubble Caps Round 14 SSA-08
Epiphany Crafts Button Studio Accessories Buttons Round 14 BSA-10
Epiphany Crafts Shape Studio Accessories Bubble Caps Star 25 SSA-43
Epiphany Crafts Shape Studio Tool Star 25 SST-41
Epiphany Crafts Brad maker
Cardstock- WorldWin Papers
Pattern papers, rubons and die cuts- Chic Tags
Letter stickers- Thickers, American Crafts
Vellum- WorldWin Papers
Pen- Millenium, Zig
Die cut machine- Cameo, Silhouette
Twine- The Twinery
Adhesives- Thermoweb, Xyron, SEI
Make sure to stop by the Epiphany Crafts blog for more inspiring projects with Chic Tags.
Till next time,
Grace
No comments:
Post a Comment