
Today's our last installment of the 3-day tutorial posts.
Sweets for my sweet gift bag


Here's the how to...
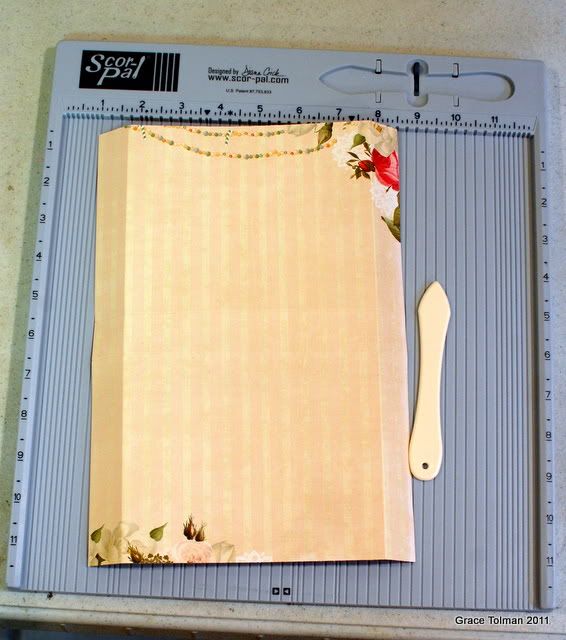 1. First you need to figure out the size of the bag you want to make. I had measured mine to be 6" x 4" so I cut my paper into an 8 x 11" piece. Then I scored 1" lenghtwise on both 1" on the middle of the paper horizontally which is about the 4" and 5" mark on your scoring board.
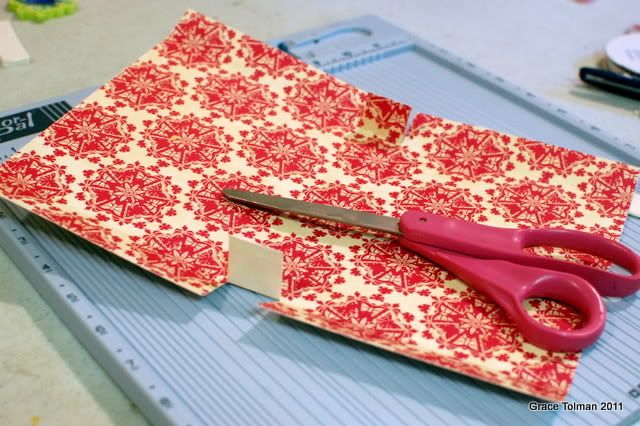 2. Fold on the marks you've just made and snip the sides of the square fold you made in the middle of the paper.
 3. Adhere the short ends of the fold to create the bag.
 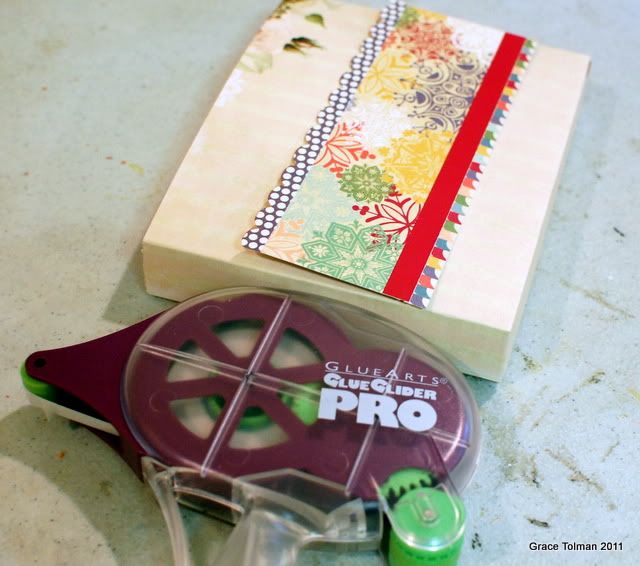 4. Layer some pattern paper and stickers together and then adhere to the center of the bags. I had made two layered pieces for each side of the bag.
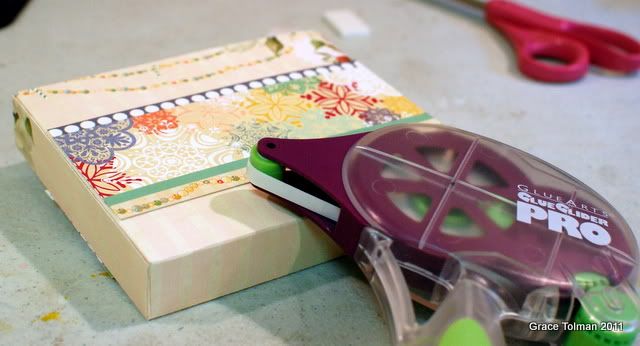
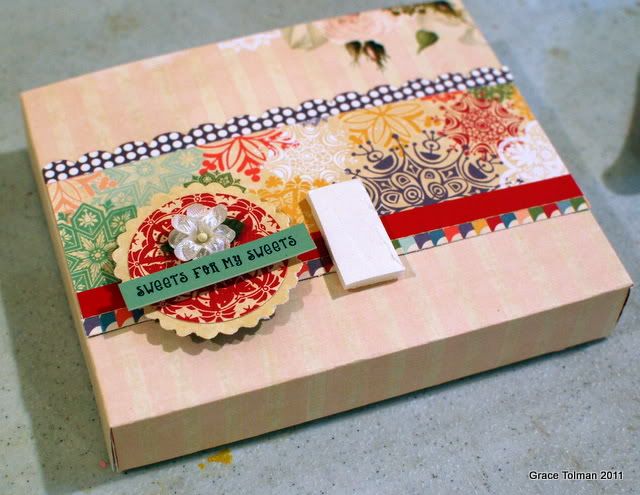 5. I then added some papers layered with a sticker and a flower to the front of the bag using some foam adhesive.
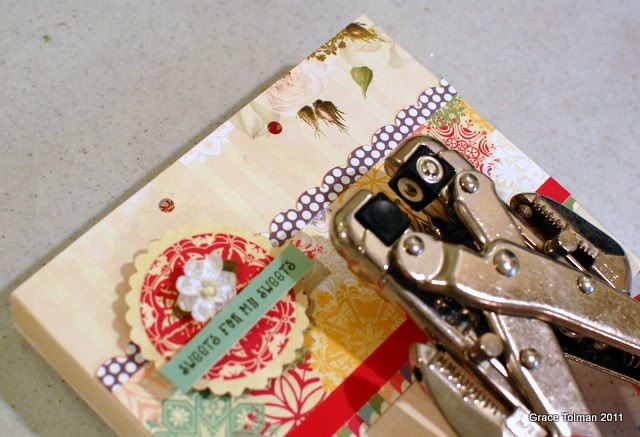 6. Then I eyeballed the center of the bag top and then punched two holes.
 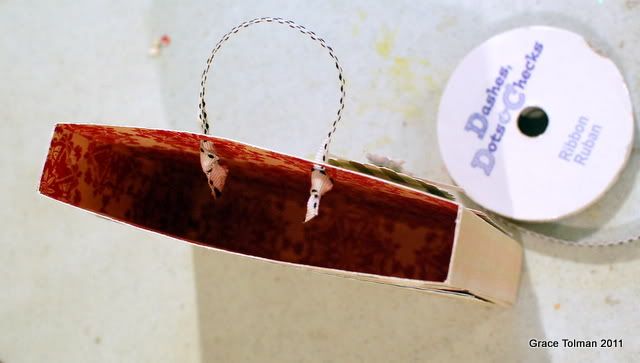 7. And the last step would be to thread ribbon through the holes and tie a knot inside to secure the ribbons.
Thank you for joining me in this three day Handmade Holiday Project + tutorial posts. Please visit Glue Arts blog for more Holiday inspired projects and have a great day.
till next time,
Grace
2 comments:
Got here via the blog hop. Love your projects!
Wow! All the details for a great bag. The bag is a great gift but also enclose a few sweets and show someone how special they are!
Post a Comment