Ribbon
jewelry has been a rage right now. Just check out Pinterest and you will find
an enormous array of accessories that combine satin ribbon with some fun
pearls, beads and accents. This trend inspired me to create my own charm
bracelet. Read on to see how I created my bracelet that my sweet daughter is
proudly modeling for me.
Instructions:
1. Gather
your supplies.
I just adhered
the plain bubble sticker over the design that I wanted to use and then use my
scissors to cut it out.
3. Then you
add your bubble sticker onto a charm foundation. After looking at my design, I
decided to add another charm making it 6 metal charms in all.
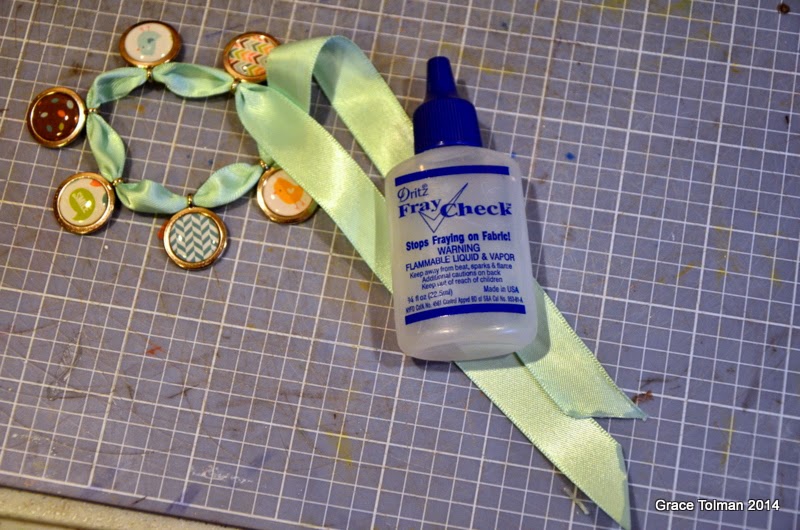
4. Next you
thread the charms through the satin ribbon. I used my mat (with the grids) to
space out my charms evenly. Because the hole of the charm fit nicely with the
size of the ribbon, I didn’t need to tie my ribbon in between the charms. These
accents didn’t move through my ribbon. I trimmed the ends leaving about 6” on
each ends for tying. I added some fray check on the ends so that my ribbon ends
don’t fray.
This process
can be used for necklaces as well.
Here’s a
couple of close up images of my bracelet….
Thank you for joining me today and happy creating.
-Grace
Supplies Used:
Satin, Pastel green, 5/8”, Ribbons Unlimited Inc.
Pattern papers- Into the Woods, Lawn Fawn
Epoxy stickers and charm metal- Epiphany Crafts
Fray check- Dritz


No comments:
Post a Comment