Everyone has a story to tell, here's mine sprinkled with some creative projects along the way.
Thank you for stopping by and I hope you come back again.


Showing posts with label sewing projects. Show all posts

Thursday, March 27, 2014

Dressed up Canvas tote *Ribbons Unlimited Inc*

Hi Crafty friends. Today I would like to share with you how I added some beautiful Ombre ribbon from Ribbons Unlimited Inc. and a couple of few other things to dress up a plain canvas tote.

I got this tote at my local craft store. They came in a three pack which is great to make one for you and two more for friends or family.

The one thing I learned (the hard way) in creating this project is that you'll need A LOT of ribbon. I had about 4 feet of the Ombre ribbon but after ruffling them, I was only able to make two lines of ruffled accents instead of the three that I had initially planned for this tote.

Are you ready to learn how to recreate this bag? Read on for the instructions and supplies...

Instructions:

1. Sew a straight stitch on one long edge of the ribbon. Do not close the stitches on the beginning nor the end of the ribbon.

2. Pull the thread away from the ribbon gently to create the ruffles. Do this until you've ruffled the entire length of your ribbon.

3. Place the ruffled ribbon over the bag to see where to cut the trims. Fold the ends and sew the ruffled trim on the bag. This time, make sure you close the stitches on both ends. Repeat the process with as many ruffles you'd like your bag to have.

4. For additional accents, add premade flowers on the left side of the bag.

5. Cut a title (or name) from a vinyl sheet using a die cut machine. Peel the negative part of the cut and adhere to the bag.

6. Mix a little bit of textile medium to your acrylic paint of choice. By adding the medium and following the procedure to treat the paint, your paint shouldn't fade if you wash the tote. Add paint over the space inside the negative space of the template. Make sure you don't go over the spaces. Set aside to dry.
Once completely dried, carefully peel the vinyl sheet to reveal the painted word.

Supplies Used:
Ombre ribbon- Morning; 1 1/2" wide wired ribbon, Ribbons Unlimited Inc.
Canvas bag- Hobby Lobby
Fabric Flowers- Jolee's Boutique, EK Success
Vinyl sheet- Glue Arts
Paint and textile medium- Plaid Enterprises
Die cut machine- Cameo, Silhouette
Thread and Sewing Machine

Till next time,
Grace

Wednesday, December 18, 2013

New Christmas decorations with the Silhouette Cameo

Every year I try to add something handmade to my growing collection of Christmas decorations. This year I decided to use my Silhouette Cameo to make some fun items with vinyl and masking techniques. 

Joy Pillowcase
One of my favorite things to do when I'm at Hobby Lobby is to check the remnant or scrap rolls of fabric. It's usually at the back of the store. Because these fabric pieces are not enough to complete a yard, they're usually at a discounted price. Anyways, this year, I was able to score some plain canvas fabrics. I love the thick and durable texture of these pieces. I decided to make them into pillowcases.
For this first one, I got this image from the Silhouette store, cut it out on a vinyl sheet and placed the negative parts of the cut on my fabric. I didn't want this to look so "Christmas-y" so I used a pink paint.
*For my acrylic paints, I add a fabric medium to them so that they can be used for fabrics and that paint doesn't come off when I wash the pillowcase.


Merry Christmas pillow case
This one used a similar technique, cutting the image on vinyl from the Silhouette Cameo and painting the inside parts of the cut. I used green as my paint and used red buttons to add dimension and design to my tree. I gotta tell you though, that the vinyl is pretty tricky to work with. It takes a lot of patience to transfer the image onto the pillow without ripping the vinyl or getting it stuck together. It was definitely a challenge!


Joy Plate
So I didn't let my vinyl cuts go to waste. If you remember my first pillow, I used the positive cuts of that image and transferred it onto a plate. I got this plate at Goodwill for less than $3. I actually had this for about a year now and was just waiting for the right image to add to it. This "joy" ornament cut was super cute and I couldn't resist. The beauty about vinyl is that when I'm tired of this image, I can simply peel off the image and I have a fresh new plain plate to dress up.

So there you have it. Thanks for stopping by and I hope you get to create something fun and festive for your home this Holiday season.

Till next time,
Grace

Friday, May 31, 2013

Getting re-acquainted with my sewing machine

Once in a while I would get this boost of motivation and inspiration to create something with fabric. It doesn't come very often but when it does, I can't resist but get cozy with my sewing machine. 

A few weeks ago, we had a rainy day and since I didn't have any projects due, I spent the afternoon making pretty things with fabrics. Here are some of the results of my sewing labor...

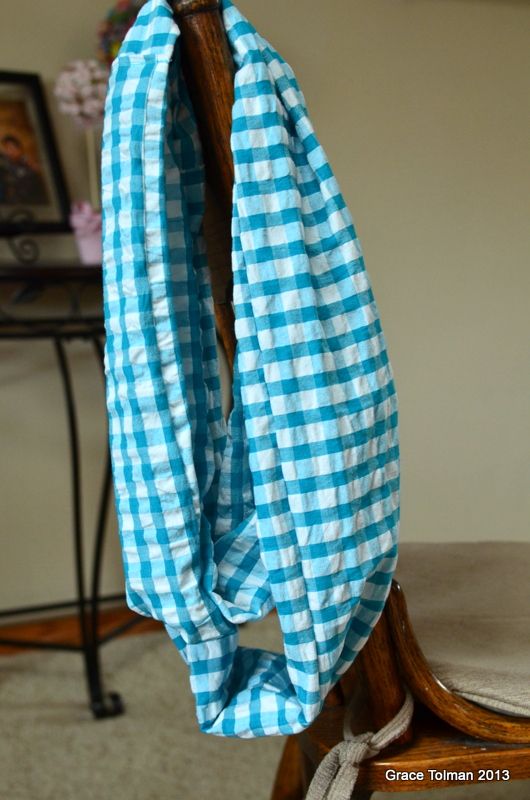
Infinity scarves are a rage right now. I remember going to the mall and seeing each of my fave stores carrying some kind or type of these scarves. I recall telling myself that I can make one instead of paying the $20 or so dollars for it. And that's exactly what I did in this sewing session...

I'm the kind of crafter that doesn't like to follow rules. I think that's why I haven't been able to embrace sewing as much as I would like to. There's so many measurements and steps to follow. With this scarf, I got a fabric (in my stash) that I thought was long enough to double around my neck. I cut the material into two 5" wide pieces. Sewn the sides of the long pieces together, right sides facing each other, turned it over, folded the ends and sewn the piece to close. 

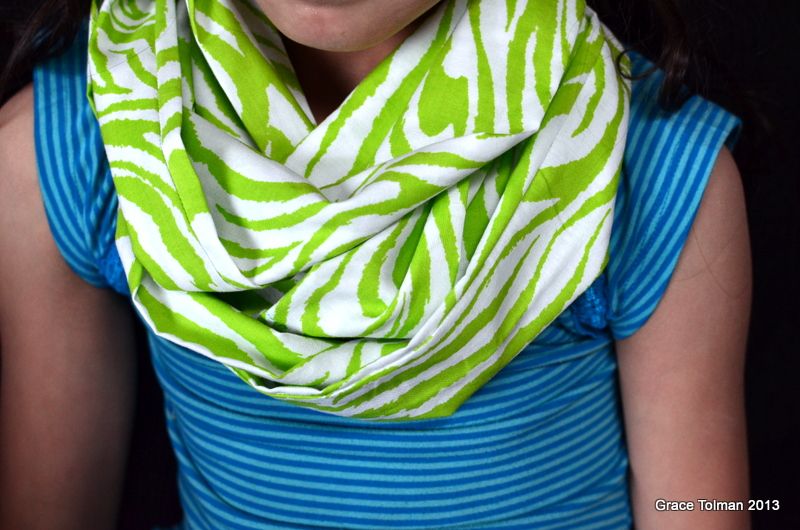
My daughter saw what I was making and she wanted one too. I made her choose the fabric and here's her version, a slightly smaller one. I love that I got her to model it for me. 


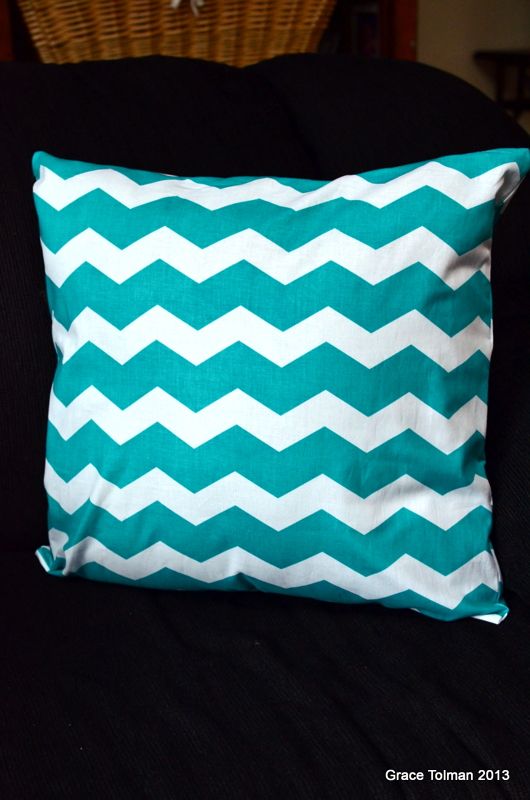
That morning, I was at Hobby Lobby purchasing some fabrics for a baby necktie that I was going to make (that's my first sewing project of the day) and saw this super cool chevron print. I had a 40% coupon in my hand and knew that I would regret it, if I didn't use it for this print. I ended up creating this pillowcase for my front room. 


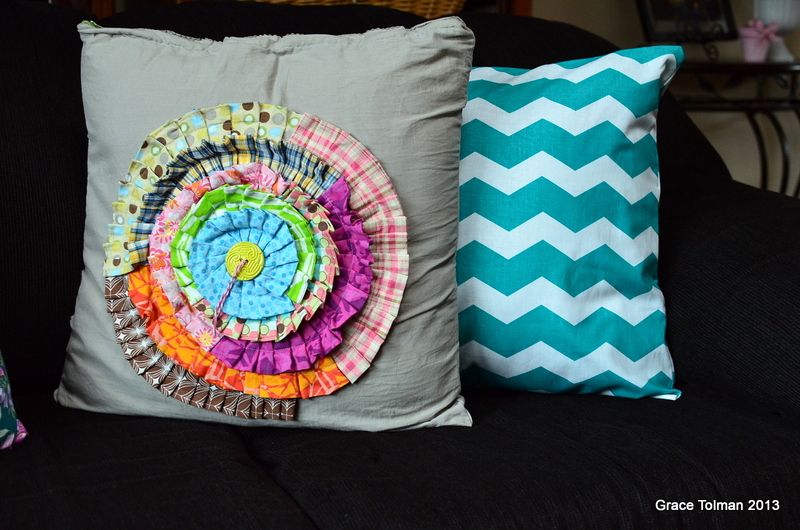
Now my other handmade pillow has an equally cool partner. *wink*

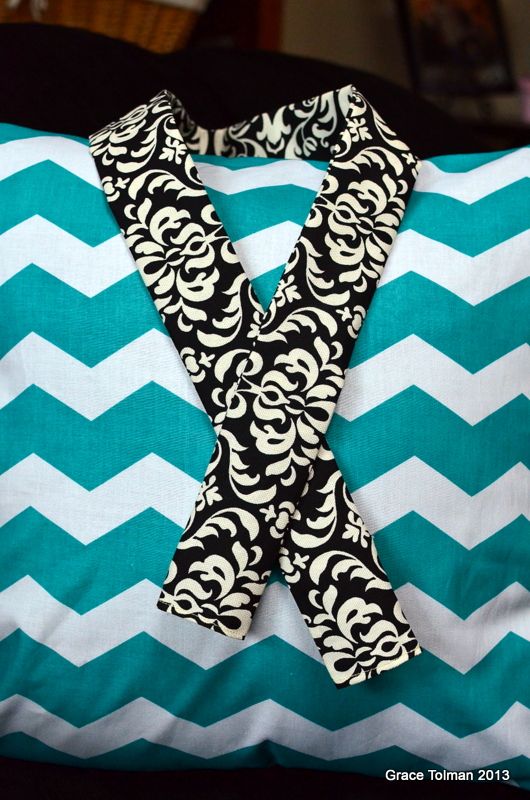
So let's recap, I made a baby necktie, two infinity scarves and then a chevron pillowcase. But I didn't stop there. At Hobby Lobby, I also found this great damask print in the fabric remnant aisle. There wasn't much of this fabric but I loved the canvas texture so I made a camera strap with it. My camera strap tutorial can be found here. Because of the beauty of this fabric print, I decided to keep it simple and not add any ruffles to the strap. I wanted this item to have an understated elegance. 

So there you have it. An afternoon of re-igniting my love for sewing and making pretty things with fabrics. 

What have you sewn lately?

Have a great weekend.

Till next time,
Grace